Car washing: How to wash your car like a pro
Washing your car is not just about making it look good, but also about preventing rust damage and paint from wearing. Your car's main protection against rust is its paintwork. By washing your car thoroughly at regular intervals, you can prevent your car from rusting and prolong the life of your paintwork.
In this guide, we'll show you step-by-step how to thoroughly wash your car in less than 20 minutes.
How to wash your car like a pro
- Wash your car thoroughly with water.
- Apply degreaser.
- Apply tyre cleaner.
- Spray rust remover on top.
- Lather the car wash.
- Pressure wash the car.
- Foam the car again.
- Wash the car by hand.
- Rinse the soap off the car.
- Dry the car.
1. Wash the car thoroughly with water
Start by rinsing off the worst dirt, road salt, dust and particles. The best way is to use a pressure washer to effectively get rid of as much dirt as possible. If you don't have a pressure washer, a garden hose will do also.
The purpose of water washing is to remove loose dirt so that it doesn't get caught in the wash mitt or sponge and make scratches by rubbing dirt all over the paint surface in a later wash step.
Take care not to damage delicate parts of the car, but rinse thoroughly throughout. Remember to also rinse underneath the car, bumpers, inside wheel arches and other places where road dust, salt and dirt can get in.
Once the paint surface has been rinsed, it is a good idea to thoroughly rinse the car's brakes and their surroundings, as salt can cause the brake discs to rust. This can lead to additional costs or your car not passing the vehicle inspection.
Once you have finished rinsing, let the car drain for a few minutes.
2. Use a degreasing agent
During the winter, your car builds up a layer of asphalt, dust, salt, grease and other contaminants. You can remove this coating by using a degreasing spray. There are three types of degreaser that you can use on your car:
- Alkaline degreaser - water soluble and removes dirt, grime and road dust
- Cold degreaser - dissolves tar stains, salt, asphalt and grease
- Micro degreaser - a cross between cold degreaser and alkaline degreaser
Once you have read the instructions, you can start the degreasing process. The degreaser should only be sprayed from the bottom of the car to around the middle of the door and the back of the bumper, where snow, dirt and water often splash from the road. Also remember to apply plenty of degreaser to the rims if you don't want to use rim cleaner (step 3).
After spraying degreaser on your car, leave it on for 2-5 minutes, but make sure it doesn't dry out.
3. Apply rim cleaner
Has it been a long time since you last washed your rims? Then you may have noticed that a yellow or brown coating has formed on the rims?
Most rims have a protective clear coating. Over time, however, a corrosive mixture of road salt, road debris, brake dust and other dirt settles on the rims. This mixture results in a yellowish-brown coating that deteriorates the rim's coating.
To remove this layer of dirt, it may be necessary to use a rim cleaner. So spray plenty of rim cleaner while the degreaser is working on the rest of the car.
Now that you've sprayed on the wheel cleaner, it's time to apply the rust remover.
4. Spray iron remover
During the winter, you may notice small brown or black spots on the paint surface.
These are so-called flying rust or iron particle spots. They are caused by metal particles thrown up in traffic, for example, which hit the car's surface and may drill into the paintwork. If they are not removed, they can lead to rusting or damage the paintwork over time.
A regular car wash will not effectively remove these metal particles. You will need a special iron remover (also known as an "fallout remover") that reacts with the metal particles and lifts them off the paintwork.
Spray the iron remover on the areas where metal particles accumulate the most – for example, the bottom edges of the doors, skirting boards, lower bumpers and rims. It is not necessary to apply the product to the entire surface of the car, unless the entire surface is visibly dirty.
Leave the agent to act for a few minutes (according to the manufacturer's instructions). The agent often reacts with the metal, turning purple. Then rinse the surface thoroughly with water before continuing with the next washing or cleaning steps.
5. Foam wash with foam soap
Foam the entire car with a pressure washer and foam gun (if you have one, otherwise skip to step 6 or wash the car by hand according to step 8) in an even, covering layer – preferably from the bottom up, so that the foam adheres better and does not run off immediately. Use an alkaline foam shampoo intended for pre-washing in the foam gun, which effectively removes road salt, grease and other coarse dirt. Remember to mix the product in the correct ratio according to the manufacturer's instructions.
Now, if you have used a degreaser, rim cleaner, and iron remover, the foam shampoo acts as a "carrier" that helps the previous products stay on the surface longer and increases the exposure time.
However, do not mix different products together into one solution, but apply them one at a time and give them a short exposure time, unless the manufacturer instructs otherwise.
Once the foam has been applied, let it sit for about 5 minutes (or according to the product instructions). When the foam starts to drain or dry, it is time to rinse the car thoroughly from top to bottom with plenty of water. This will remove loose dirt and prepare the surface for the next washing step.
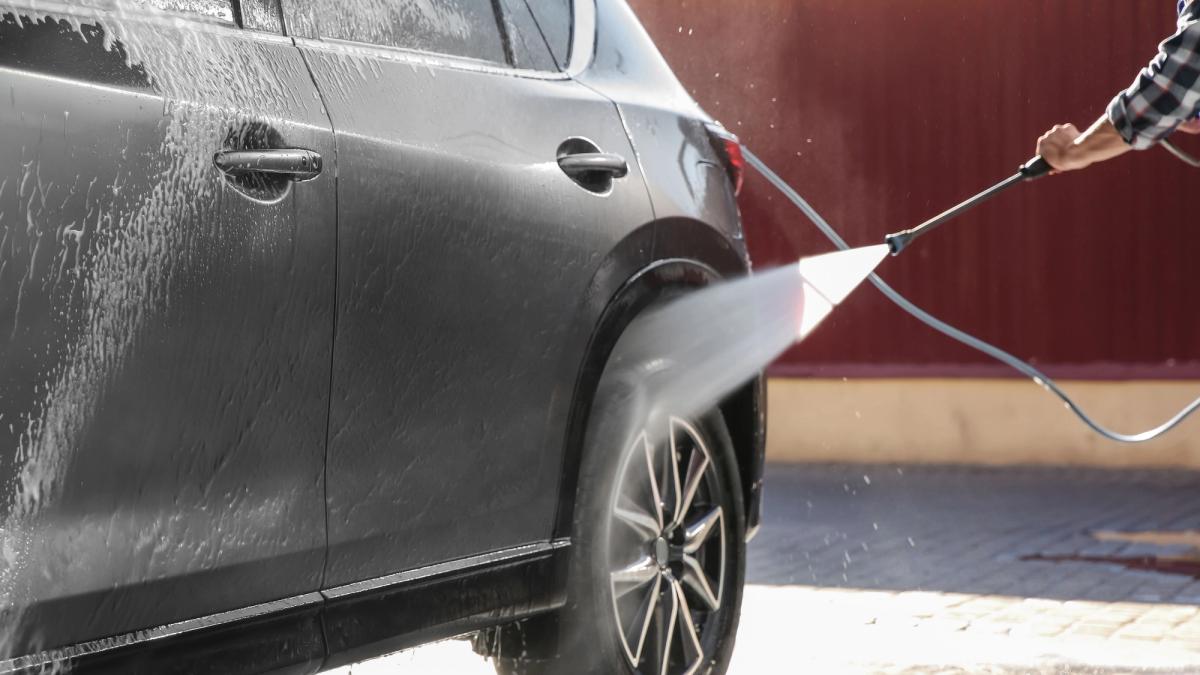
6. Wash your car with a pressure washer
Now is the time to do a thorough pressure wash of the exterior surfaces. This is where the cleaning work really begins.
First, choose a 40–60 degree nozzle for your pressure washer. This will give you a gentler wash because the pressure is distributed evenly.
Next, remove the foam gun from the washer so you can systematically wash the car with a pressure washer. Start from the bottom, use time and plenty of water to rinse off all the soap/chemicals.
After you have finished pressure washing, quickly inspect the car to make sure there is no dirt left behind.
Pressure washing is not the same as rinsing. When you wash your car with a pressure washer, the pressure and water from the pressure washer combine with the soap and chemicals you previously sprayed on the car.
The result is an 80-90% clean car. If you want to get your car completely clean, you will need to wash the car by hand. This means you will need to lather the car once more.
7. Re-foam the car
Take the pressure washer out again, attach the foam gun, and lather the car as in step 5.
Just like last time, you want to apply a thin, even layer of foam shampoo. Start at the bottom and work your way up.
8. Wash the car by hand
Now it’s time to hand wash your car to get a truly clean finish.
The goal of hand washing is to remove the “traffic film” – a thin, dirty film of dirt, such as road salt, grease and exhaust residue, that a pre-wash alone usually won’t remove. Use a quality microfiber wash mitt (not a sponge, which can scratch the paint) and the two-bucket method – one for the wash water and one for the clean rinse water.
Here's how:
- Fill two buckets: one with warm car shampoo, the other with plain water for rinsing.
- Use a microfiber wash mitt.
- Wash one panel at a time, working from top to bottom, as the bottom of the car is the dirtiest.
- Use straight strokes from side to side; avoid rotating movements that can cause scratches.
- Rinse the mitt in clean water after each panel before moving on to the next step.
- Don't forget to wash the rims (use a rim brush if necessary), around the mirrors, door handles and other crevices.
9. Rinse the soap off the car
Rinse the car again with water so that no soap or chemicals remain.
It is important that no soapy water remains on the car. This can cause stains when it dries, which can be difficult to remove later.
You can use a low pressure washer or a regular garden hose.
10. Dry the car
After washing your car, it is important to dry it thoroughly. Drying the paintwork thoroughly is both about appearance and about protecting the paintwork and other parts.
By drying your car using a microfiber drying towel and/or a water scraper, you will avoid unsightly lime stains on the surface of the car, prepare the car for waxing, and prevent the doors and handles from freezing if you wash your car in the winter. Drying also helps you to spot any imperfections in the wash, so you can clean these areas before dirt has a chance to re-settle.
It is a good idea to start drying by removing excess water from the roof and windows and continue drying from top to bottom.
Usein kysytyt kysymykset
Here are some frequently asked questions about car care and car washing.